
Filming and Editing Your Online Course: A Simple Guide
Filming an online course doesn't require expensive equipment or a professional studio. With the right tools and a well-defined plan, you can create a polished and engaging course for your students. This guide will provide a breakdown of the essential tools, filming environment setup, and basic editing tips. While Think Media offers specialized in-depth guidance on filming and editing, this will cover methods and tools known to work with many course creators.
Tools for Recording Your Course
If your course involves screen recordings, tutorials, or walkthroughs, consider using tools like Loom or Riverside. These platforms allow you to record both your screen and your face simultaneously, enhancing student engagement.
- Screen Recording Software: Loom, Riverside
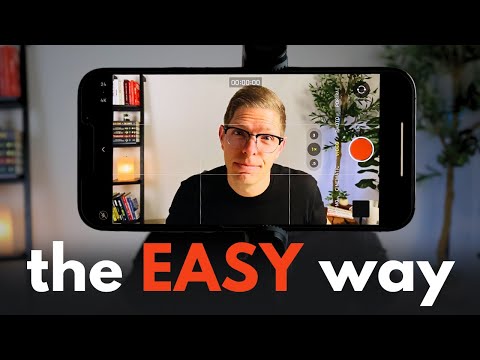
Equipment: Keeping it Simple
You don't need a high-end camera. Your smartphone can produce high-quality videos, provided you have good lighting and a stable surface. While a DSLR or mirrorless camera can add a professional touch, it's not essential. Focus on the content rather than overspending on gear.
Creating the Perfect Filming Environment
Your filming environment significantly impacts the perceived quality of your course.
-
Keep it clean and uncluttered: Ensure a visually appealing background, free from distractions.
-
Lighting: Natural light is ideal; position yourself near a window when filming during the day. If natural light is unavailable, invest in an affordable ring light or softbox. Prioritize good lighting; your students will appreciate it.
-
Dress Appropriately: Your attire should align with the tone of your course. Business casual is suitable for business and finance topics, while sporty attire is appropriate for fitness courses. Your appearance reflects your professionalism.
Editing Your Videos: Making it Polished
Editing might seem daunting, but user-friendly tools make it manageable.
-
iMovie (Mac): An intuitive option with all the necessary features for basic editing.
-
DaVinci Resolve (Mac & PC): A free tool offering professional-level capabilities. Beginner tutorials for both platforms are recommended.
-
Outsourcing: If editing is overwhelming or time-consuming, consider outsourcing to skilled editors on platforms like Upwork or Fiverr.
During editing, prioritize simplicity.
-
Remove Unnecessary Content: Cut out pauses, mistakes, and irrelevant material.
-
Add Polish: Use smooth transitions and titles, but avoid overdoing it. The content should remain the focus.
Tips to Make Your Course Stand Out
Here are a few additional tips to elevate your course:
-
Show Your Face: Include a small picture-in-picture of yourself to help students connect with you.
-
Invest in Good Audio: Use a simple lavalier microphone or USB microphone for clear audio. Even using earbuds with built-in mic is a simple fix. Good audio quality is crucial for engagement.
Course Creation: A Rewarding Experience
With the right tools and techniques, your course will sound good and feel professional, making it engaging for your students. Seeing your hard work come to fruition is an amazing feeling.
 {#
{#  {#
{#  {#
{#  {#
{#  {#
{#